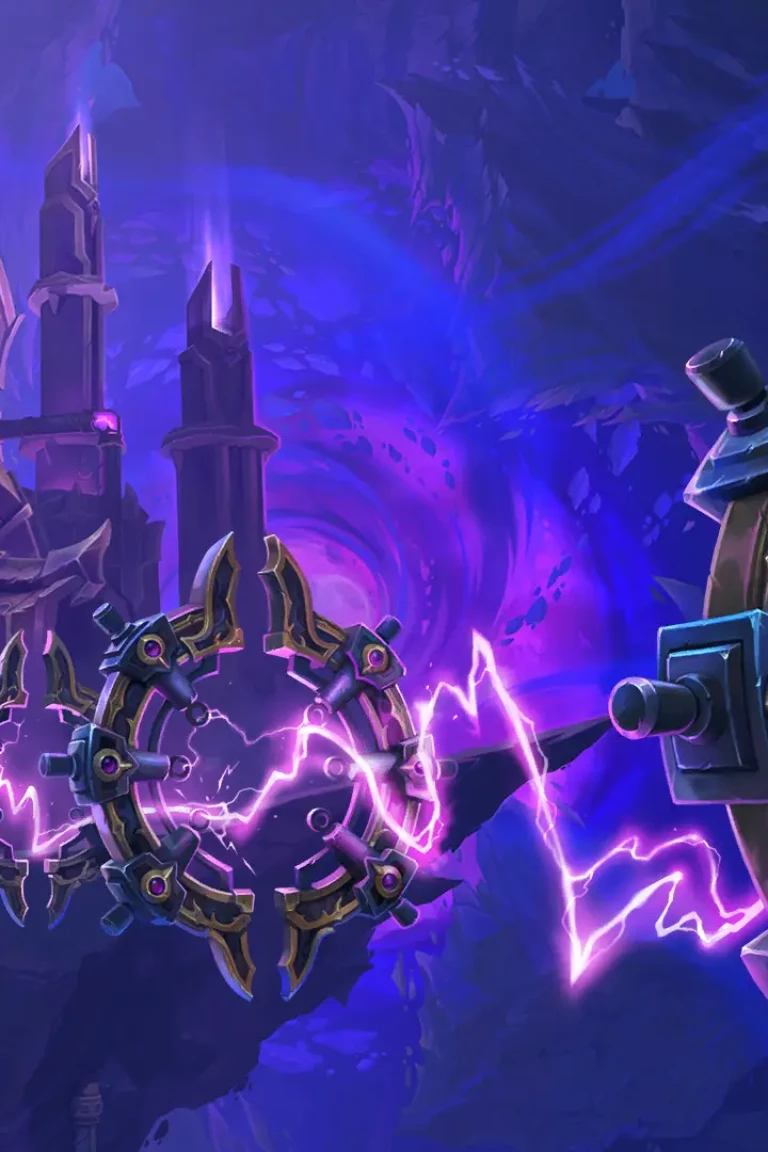
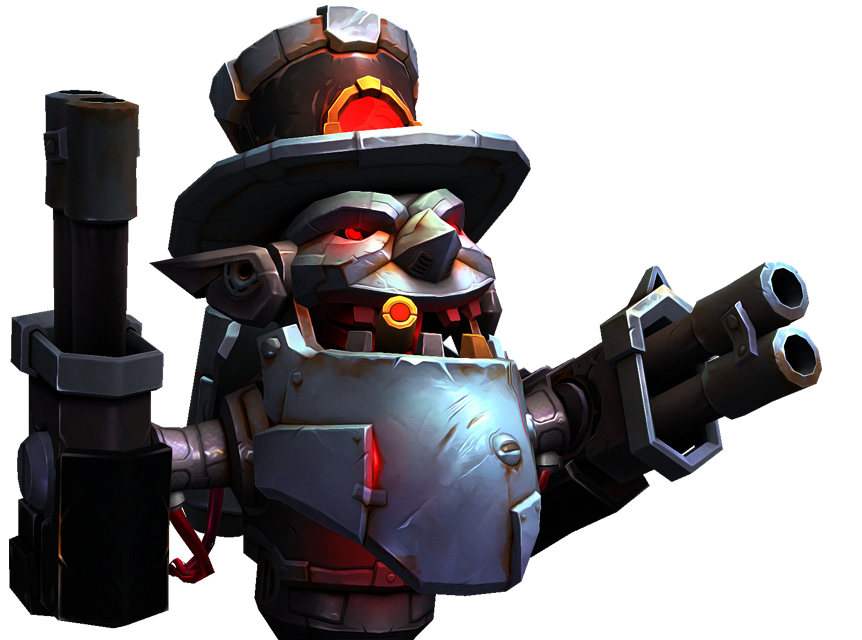
Chrome King Gallywix

Movie
Summary


Abilities
Venting Heat
Ego Check
Sabotaged Controls
Gatling Cannon
Trick Shots
Chrome King Gallywix
1. Venting Heat
2. Ego Check
3. Sabotaged Controls
4. Gatling Cannon
5. Trick Shots
Mechanics
Big Bad Buncha Bombs
Bad Belated Boom
Sapper's Satchel
1500-Pound "Dud"
Zagging Zizzler
Scatterblast Canisters
Fused Canisters
Tick-Tock Canisters
Suppression
Giga Coils
Giga Blast
Charged Giga Bomb
Cratering
TOTAL DESTRUCTION!!!
Bigger Badder Bomb Blast
Overloaded Rockets
Overloaded Bolts
Radiant Electricity
Gallybux Finale Blast
Chrome King Gallywix
1. Big Bad Buncha Bombs
2. Bad Belated Boom
3. Sapper's Satchel
4. 1500-Pound "Dud"
5. Zagging Zizzler
6. Scatterblast Canisters
7. Fused Canisters
8. Tick-Tock Canisters
9. Suppression
10. Giga Coils
11. Giga Blast
12. Charged Giga Bomb
13. Cratering
14. TOTAL DESTRUCTION!!!
15. Bigger Badder Bomb Blast
16. Overloaded Rockets
17. Overloaded Bolts
18. Radiant Electricity
19. Gallybux Finale Blast
Video
Summary
Abilities
Venting Heat
Ego Check
Sabotaged Controls
Gatling Cannon
Trick Shots
Chrome King Gallywix
1. Venting Heat
2. Ego Check
3. Sabotaged Controls
4. Gatling Cannon
5. Trick Shots
Mechanics
Big Bad Buncha Bombs
Bad Belated Boom
Sapper's Satchel
1500-Pound "Dud"
Zagging Zizzler
Scatterblast Canisters
Fused Canisters
Tick-Tock Canisters
Suppression
Giga Coils
Giga Blast
Charged Giga Bomb
Cratering
TOTAL DESTRUCTION!!!
Bigger Badder Bomb Blast
Overloaded Rockets
Overloaded Bolts
Radiant Electricity
Gallybux Finale Blast
Chrome King Gallywix
1. Big Bad Buncha Bombs
2. Bad Belated Boom
3. Sapper's Satchel
4. 1500-Pound "Dud"
5. Zagging Zizzler
6. Scatterblast Canisters
7. Fused Canisters
8. Tick-Tock Canisters
9. Suppression
10. Giga Coils
11. Giga Blast
12. Charged Giga Bomb
13. Cratering
14. TOTAL DESTRUCTION!!!
15. Bigger Badder Bomb Blast
16. Overloaded Rockets
17. Overloaded Bolts
18. Radiant Electricity
19. Gallybux Finale Blast